
Add new rail (legacy)
-
On the Rails Builder page, select the relevant template from the list.
-
Click the relevant layout.
-
Add a rail:
-
To add the first rail to a new layout, click Create Rail.
-
To add a new rail to an existing layout, click Add New Rail.
-
-
Click the globe icon and select the locale for the rail.
-
Give the rail a name and a title.
-
Optionally:
-
Under Default Rail Image Orientation, select the image orientation.
-
Use Additional Properties to add any additional properties that are required for the layout.
These enable you to apply additional formatting to templates according to your organisation's requirements.
Note: these key/value pairs are created by the operator and are not controlled by NAGRAVISION. -
In Blueprint, select a blueprint to apply predefined values to the rail.
-
-
Click Save Rail.
-
Click Continue to save the rail.
The empty rail is added to the layout. You can now add content to the rail.
Add a predefined rail using blueprints
This method may not be fully supported in the current release.
You can use predefined rail blueprints to add particular types of rail more quickly and easily.
-
On the Rails Builder page, select the relevant template from the list.
-
Click the relevant layout.
-
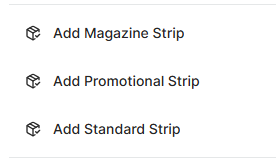
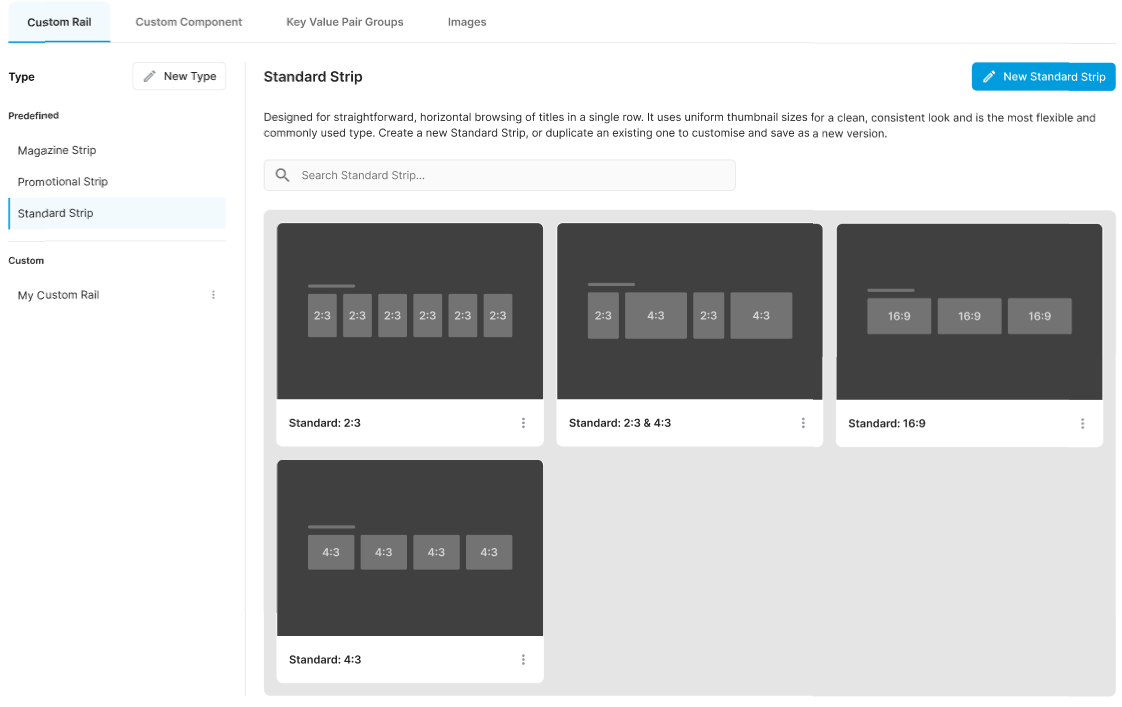
From the sidebar, select the type of rail strip you want to add.
-
Choose the required blueprint variant from the selection screen:
-
Click Apply.
-
Enter a name and a title for the rail.
-
Click Save.
-
Click Continue to save the rail.
The empty rail is added to the layout. You can now add content to the rail.
Duplicate a rail in a layout
To duplicate a rail in a layout:
-
On the Rails Builder page, select the relevant template from the list.
-
Click the relevant layout.
-
Click the Edit menu on the relevant rail and then click Duplicate Rail.
-
The duplicated rail is opened for editing. Make any required changes, then click Create Rail.
-
Click Continue to save the rail.
Rearrange rails
To change the order of the rails in a layout, use the ![]()